Tutorial
Binding a notebook using the saddle stitch
ByAkash Bhave
Published on Wednesday, June 24, 2020

Objective
One of my big hobbies is writing with fountain pens. The thing with fountain pens is that if you use lower-quality paper, you get terrible feathering and ghosting. Higher-quality paper isn't that more expensive. For some reason, though, the price shoots way up when they're in a notebook form.
The moment I heard about the clearance sale on Rhodia dotPads at Michaels, I immediately rushed over and bought up the stock. Here's what I got (not a bad haul to say the least).

With all of these pads, I decided it was a great time to try and bind my own notebook. Sea Lemon's tutorial proved to be a great resource.
Steps
The notepads were A4 size, but my cardstock paper was a 12 inch square, so I had to cut everything to size. I also ripped out 20 sheets to make an A5 notebook with 40 pages.

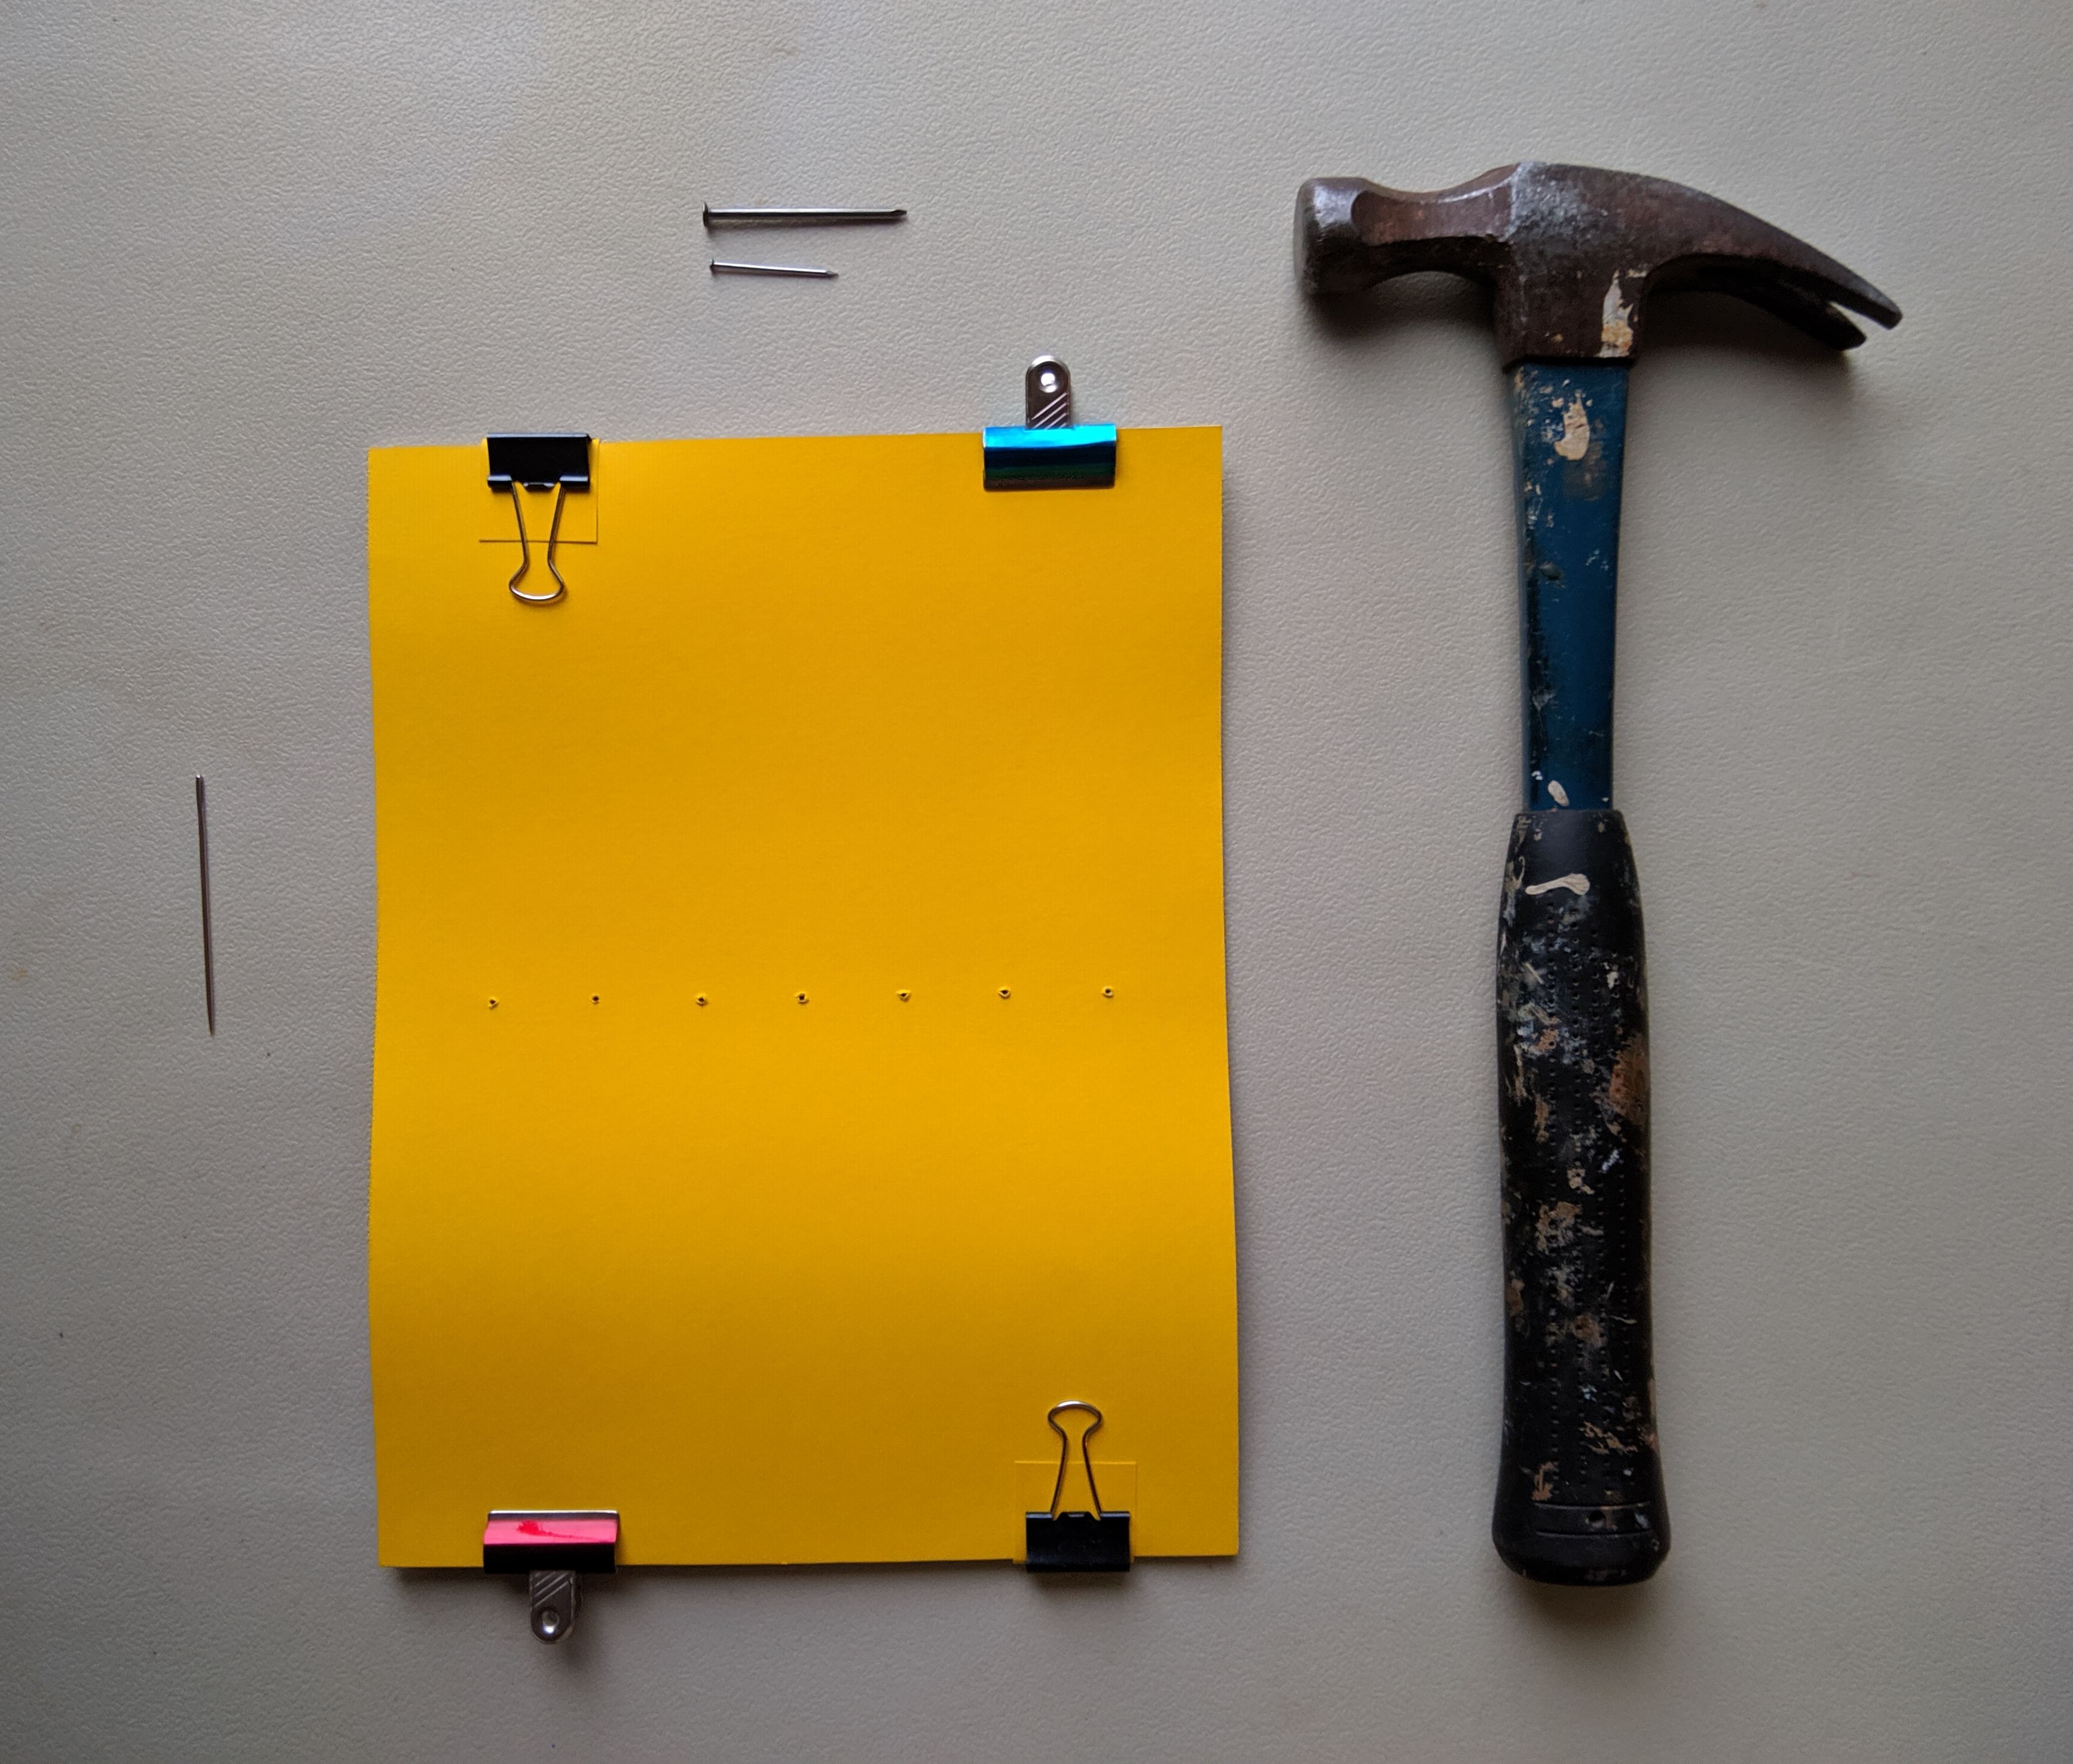
I made sure everything was aligned, and secured the sheets together with binder clips.

Next, I needed to mark the holes for the thread. Since I didn't have an awl, I used a hammer and nail. Next time, if I don't have an awl, I'll definitely use a drill instead as the holes didn't come out too clean.
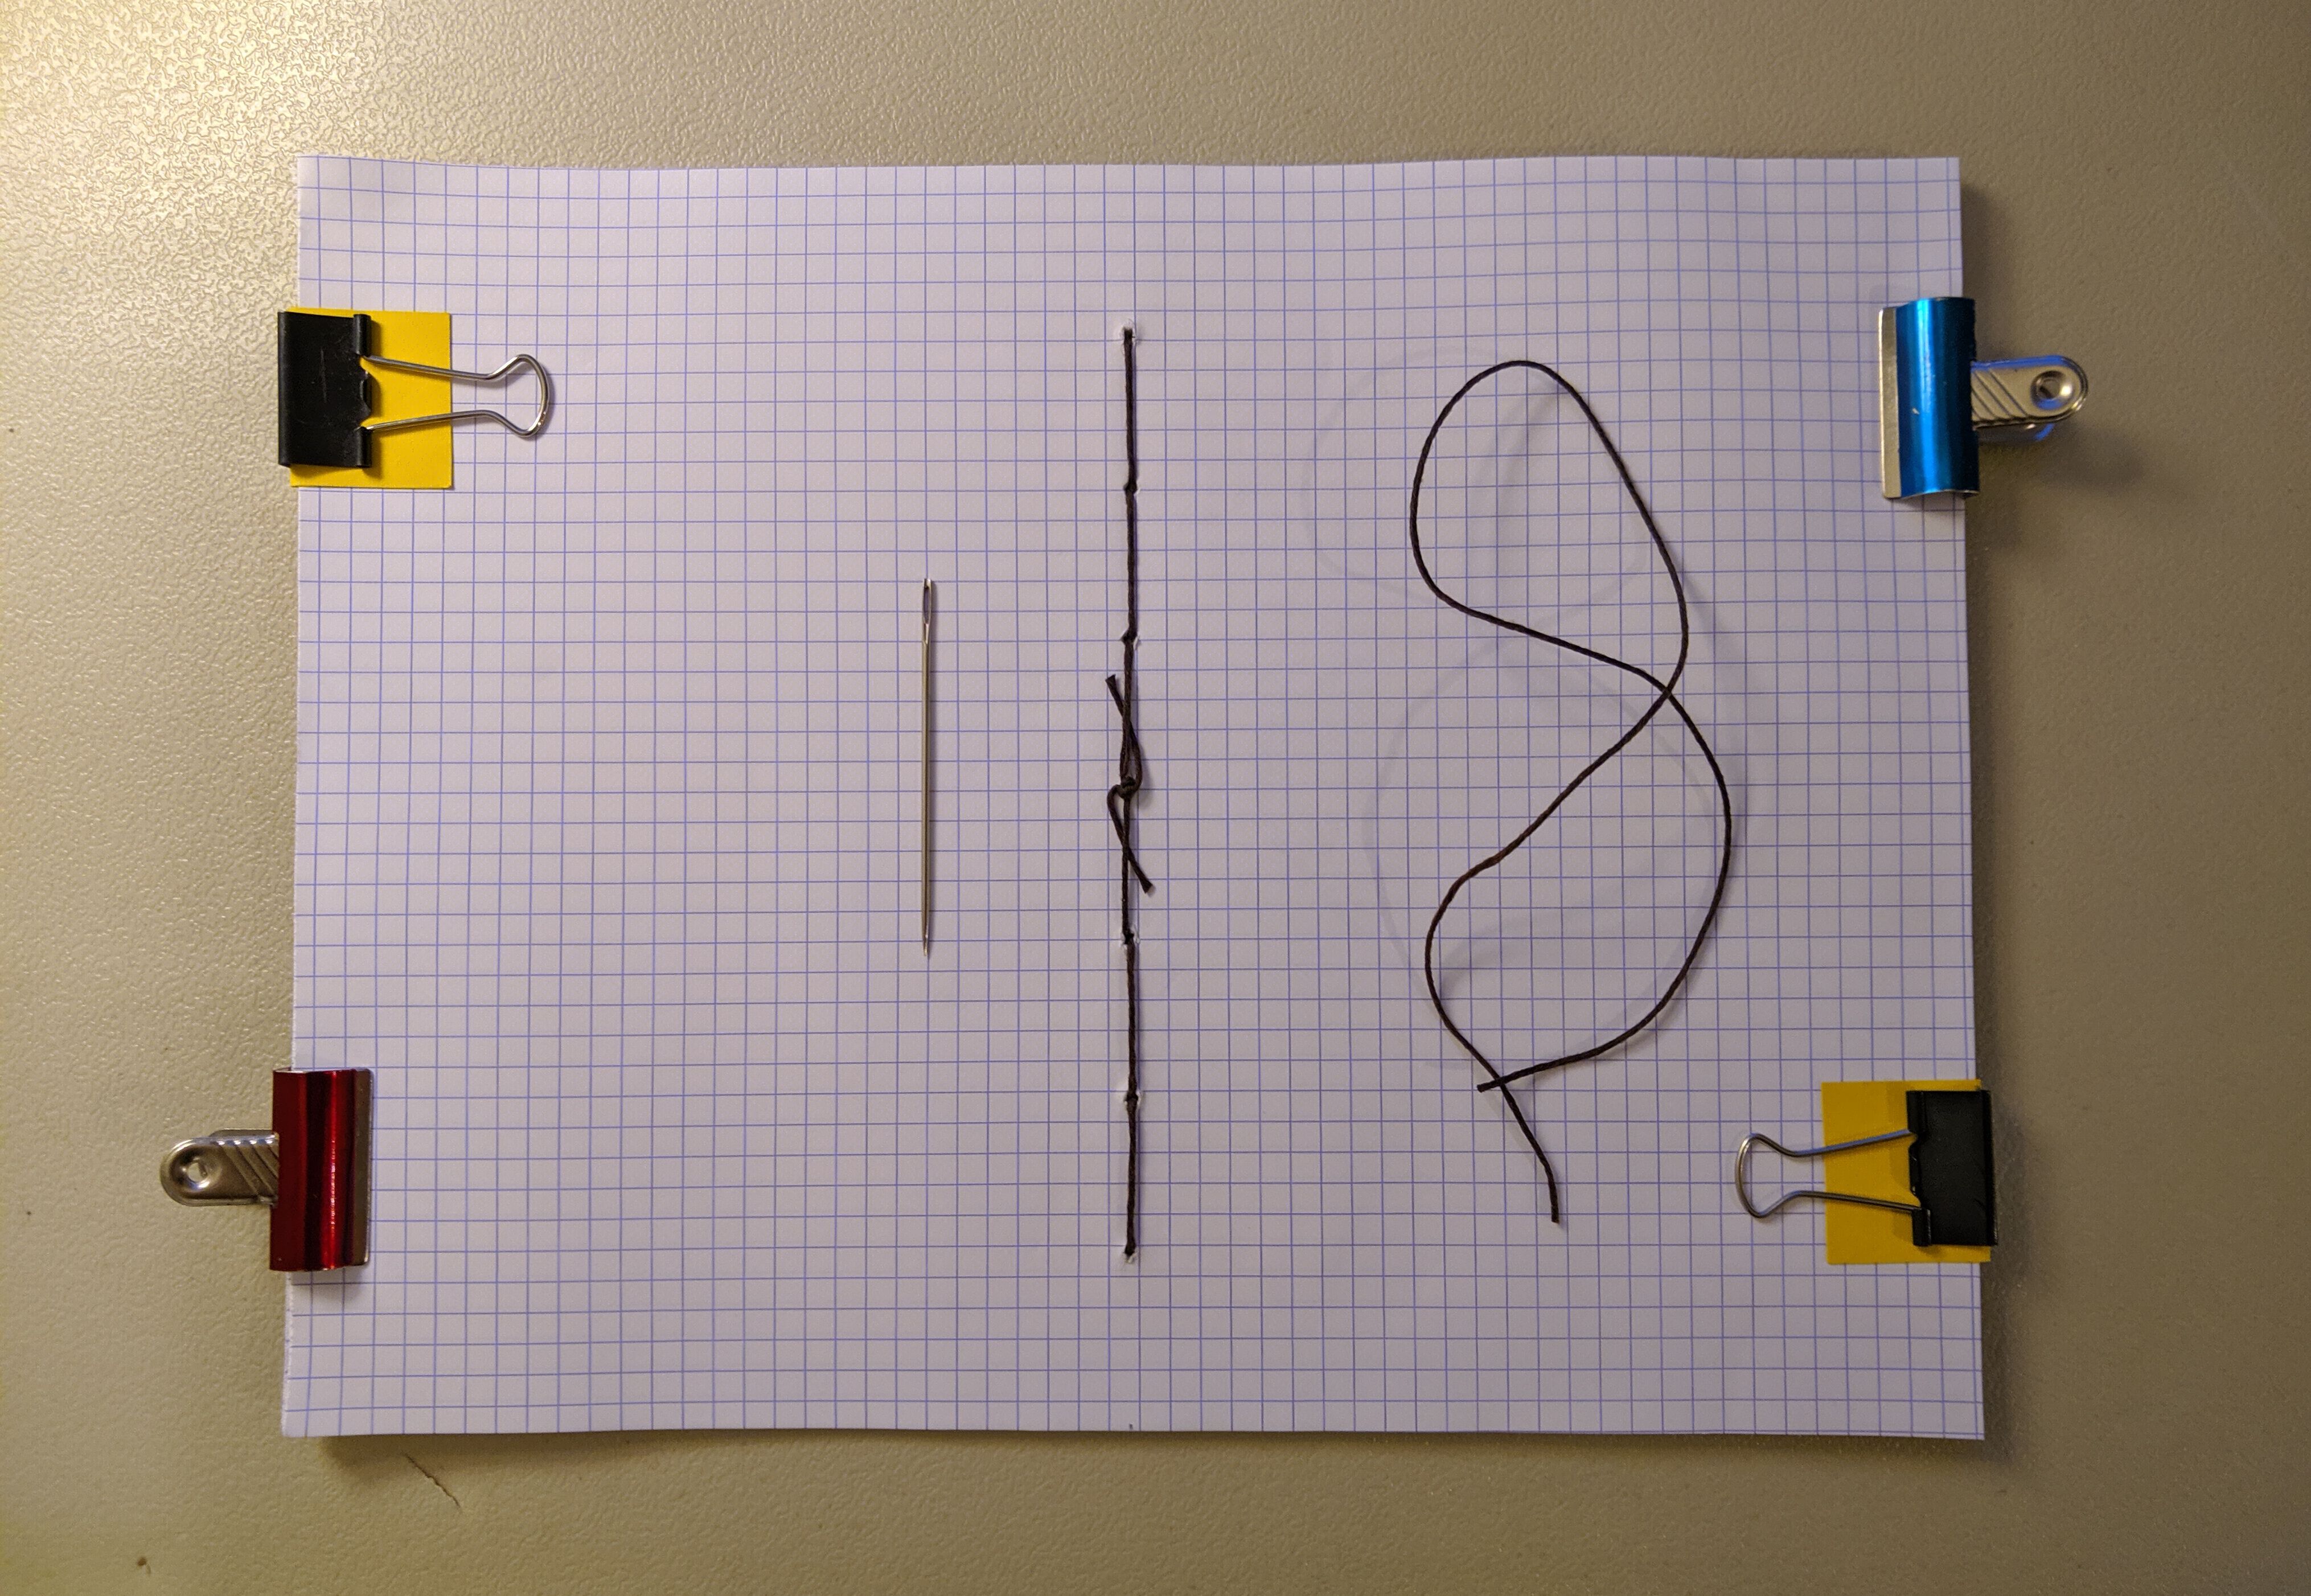
Now for the fun part. I used a dark-brown waxed thread (also bought from Michaels) to bind the notebook. It's easier to sew with a waxed thread as there's less chance the thread will split apart.
I carefully folded the notebook and placed it under a heavy object (making a bookpress might be a fun project in the future). Lastly (not pictured), I used a utility knife to trim the edges and a simple nail file to smoothen the edges.
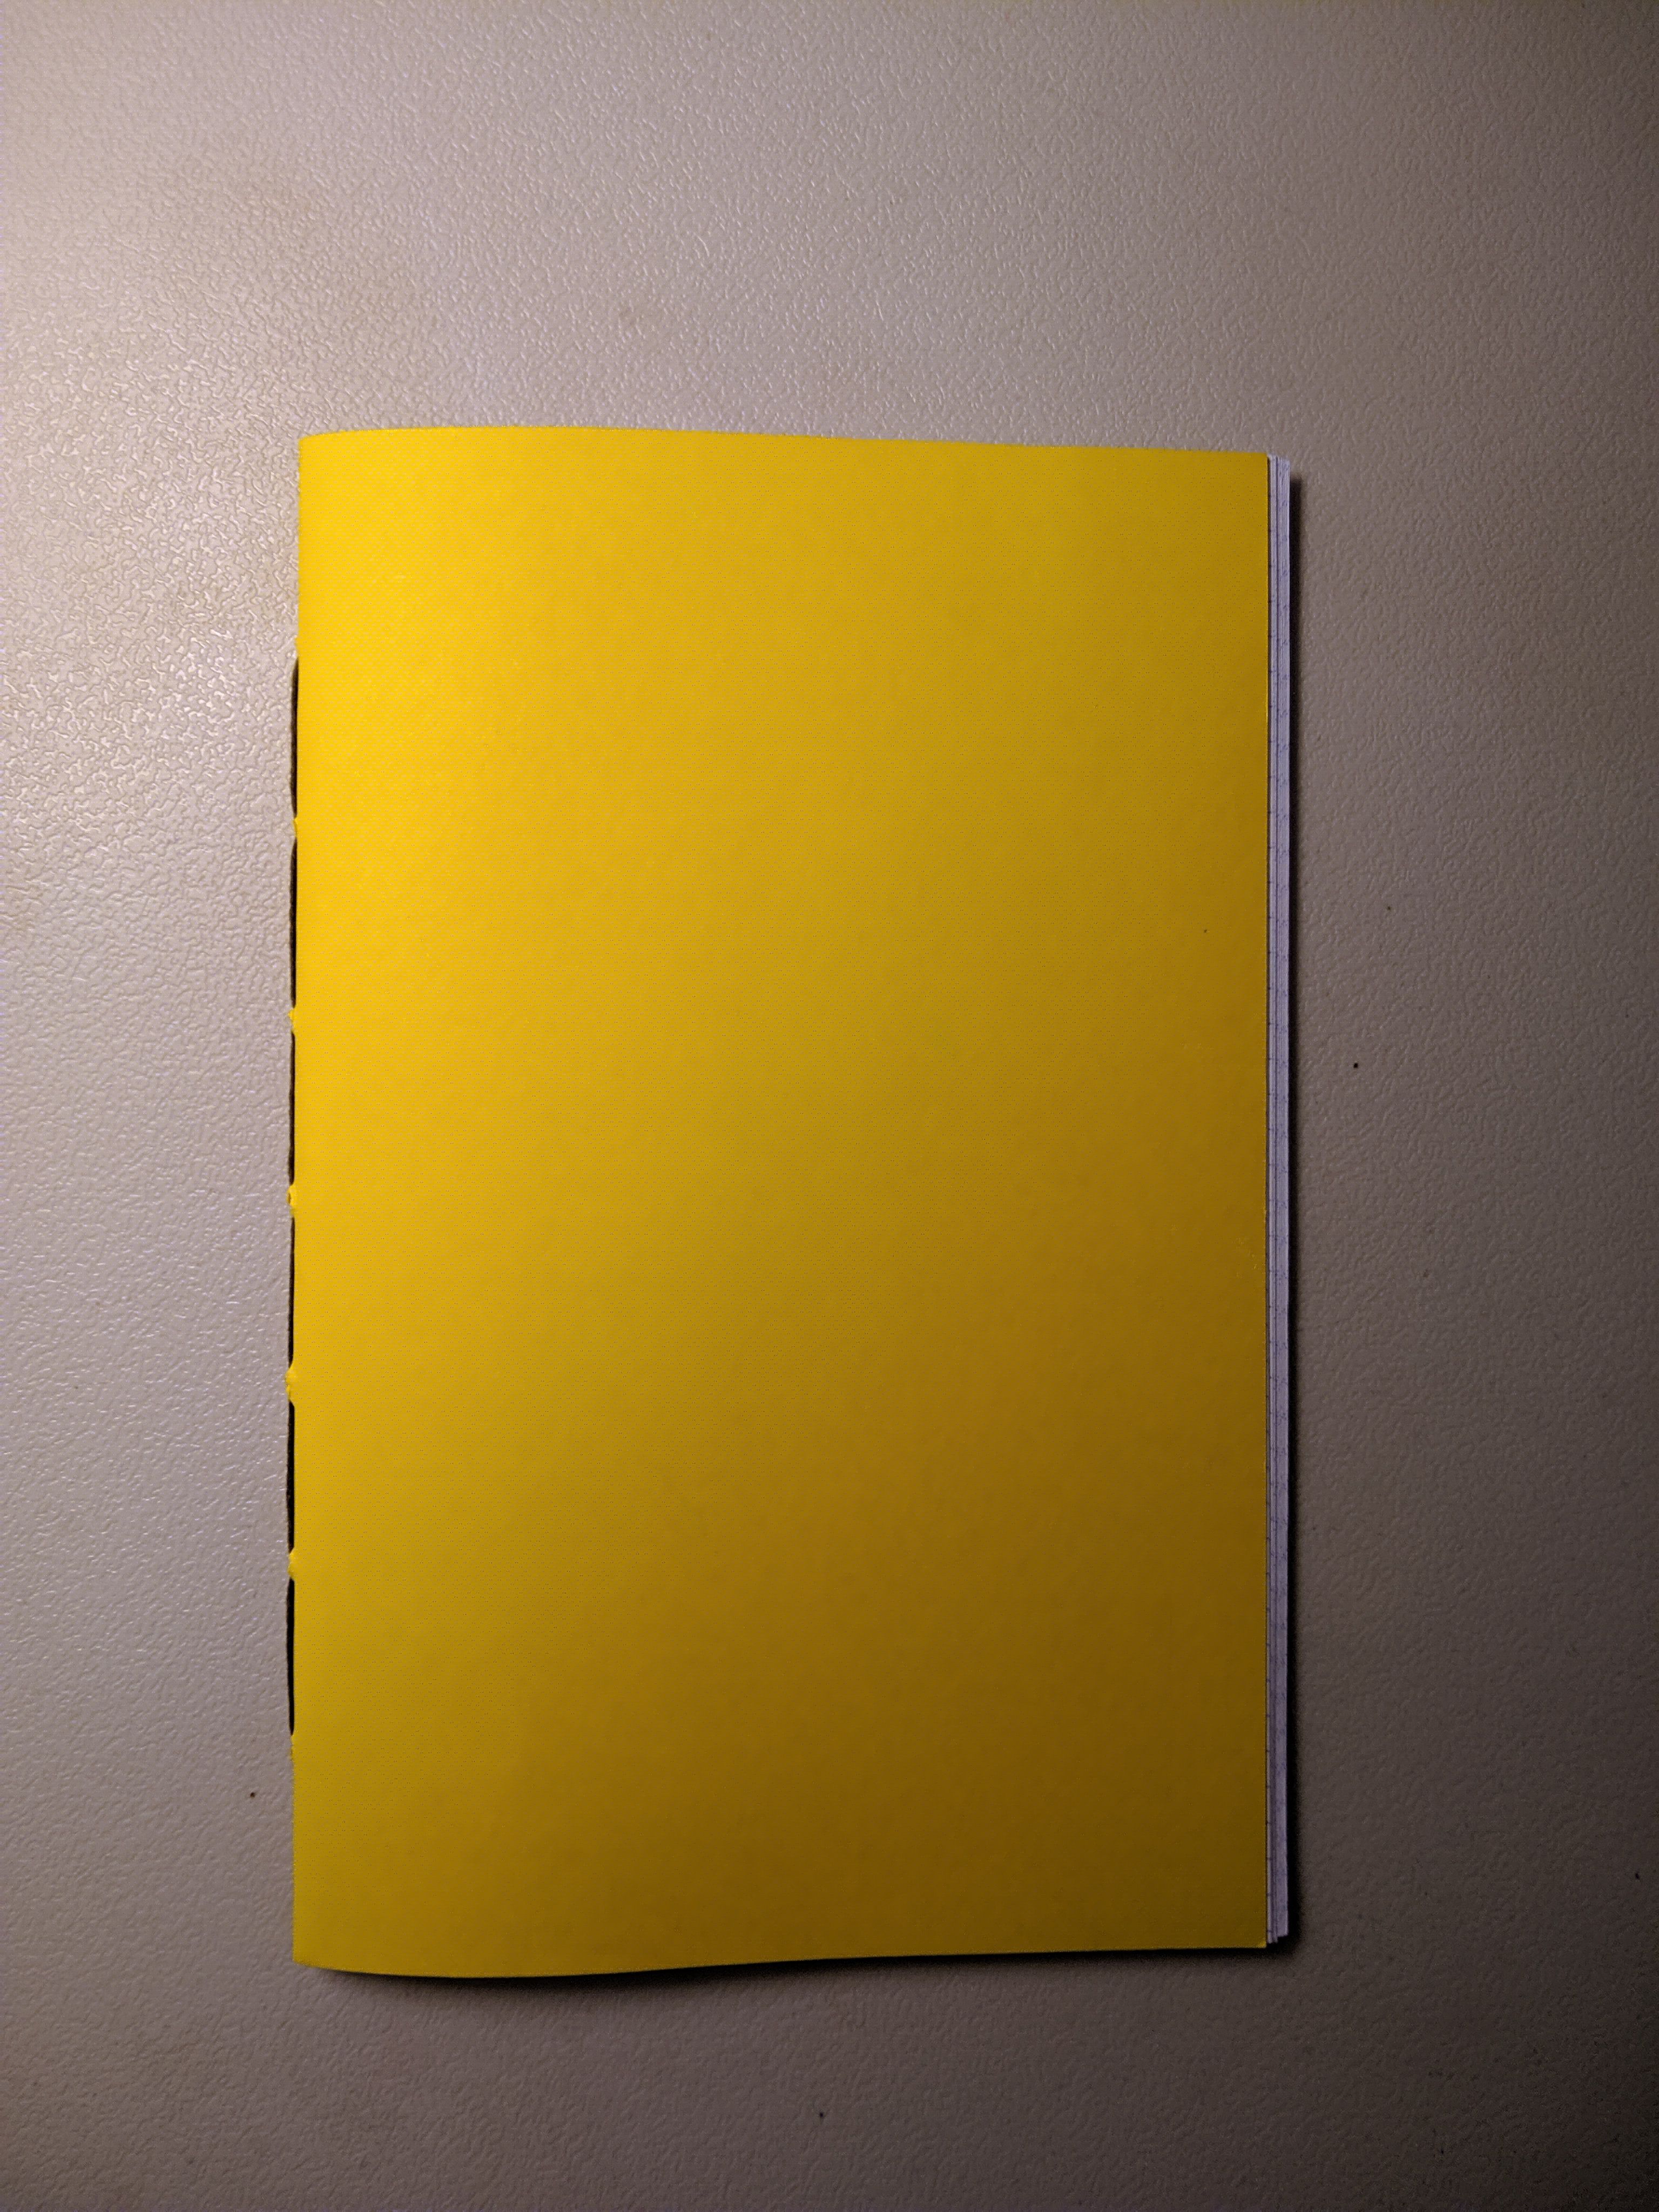
Time to write!